Amazon Web Services' (AWS) Lambda provides a serverless architecture framework for your web applications. You deploy your application to Lambda, attach an API Gateway and then call your new service from anywhere on the web. Amazon takes care of all the tedious, boring and necessary housekeeping.
In this HOWTO I show you how to create a proxy in front of the AWS Elasticsearch service using a Lambda function and an API Gateway. We use Identity and Access Management (IAM) policies to sign and encrypt the communication between your Lambda function and the Elasticsearch service. This HOWTO serves as a simple starting point.
Once you successfully jump through the hoops to connect Lambda to Elasticsearch, you can easily grow your application to accommodate new features and services. In the second HOWTO, for example, I demonstrate how to validate and publish documents to Elasticsearch.
The agenda for this HOWTO follows:
- Deploy and configure an AWS Elasticsearch endpoint
- Configure your Chalice development environment
- Create an app that proxies/ protects your Elasticsearch endpoint
- Configure an IAM policy for your Lambda function
- Use Chalice to deploy your Lambda function and create/ attach an API gateway
- Test drive your new Lambda function
1. Deploy an AWS Elasticsearch Instance
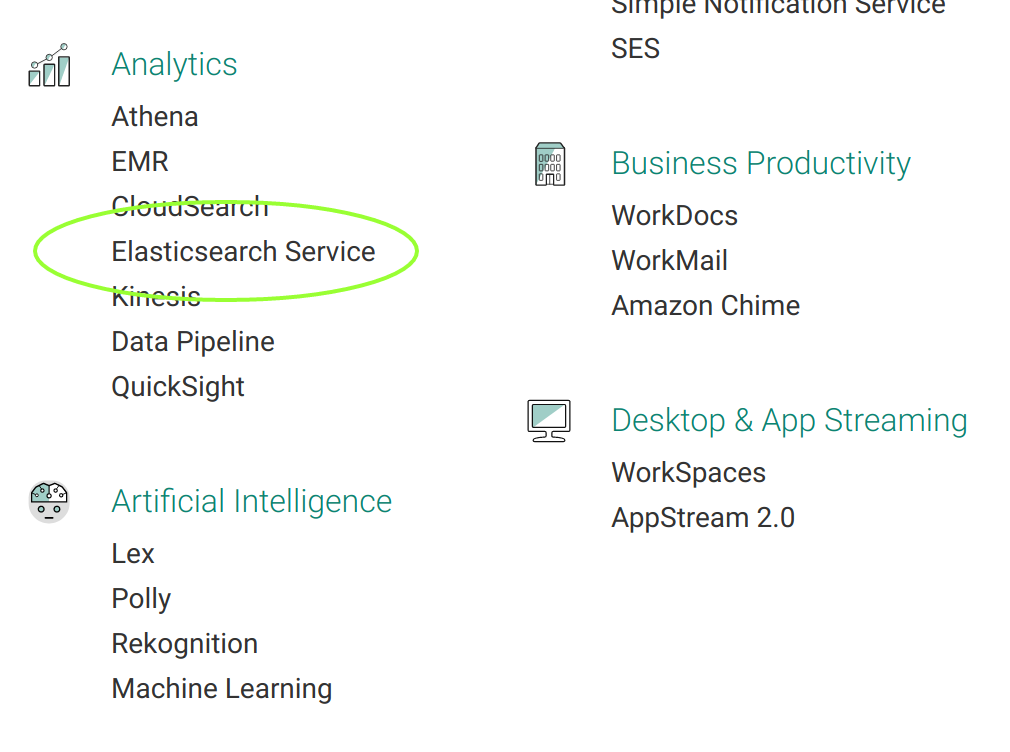
Amazon makes Elasticsearch deployment a snap. Just click the Elasticsearch Service icon on your management screen:
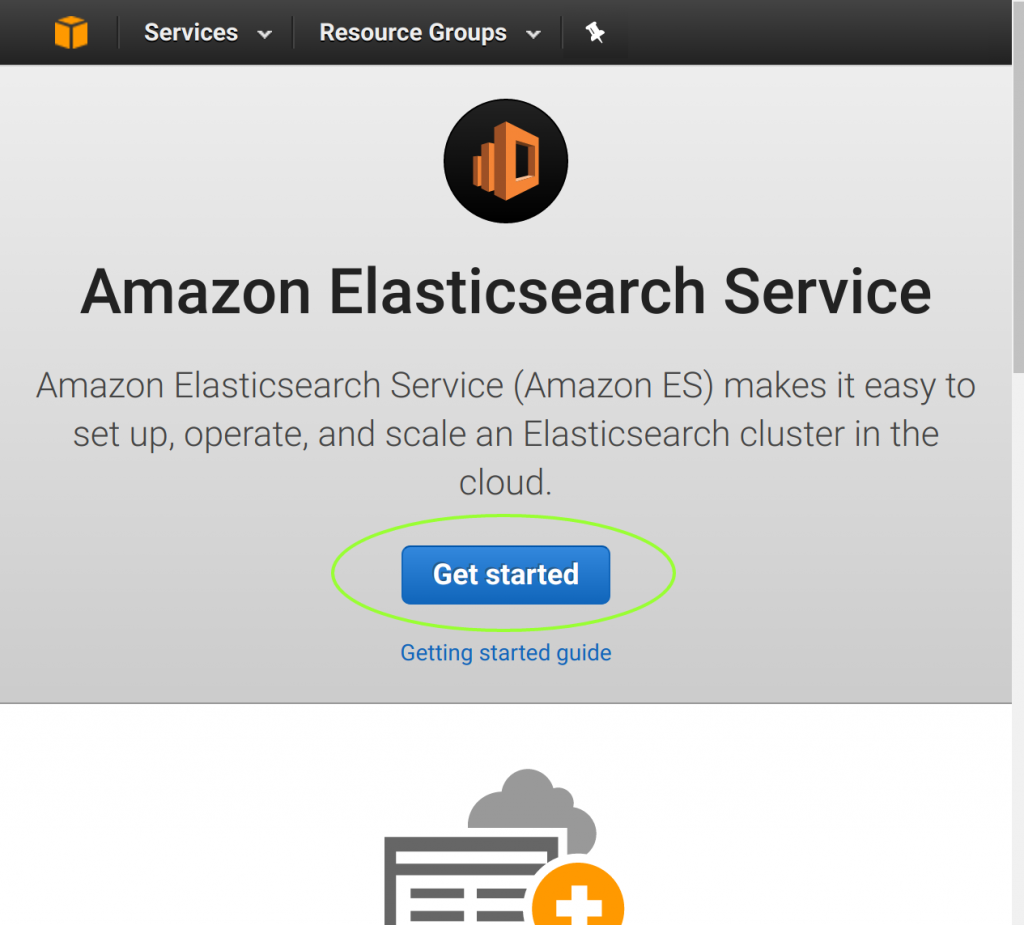
If you see the "Get Started" screen, click "Get Started."
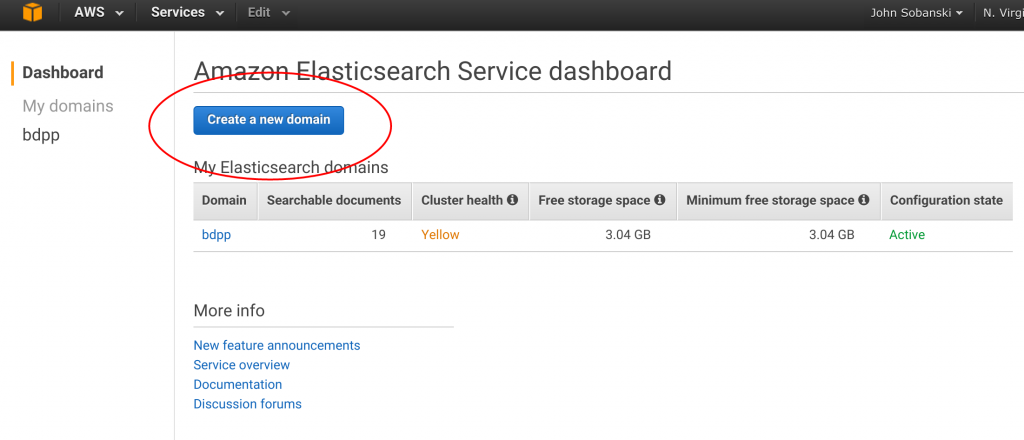
Or, if you've used the Elasticsearch service before and see the option for "New Domain," click “New Domain.”
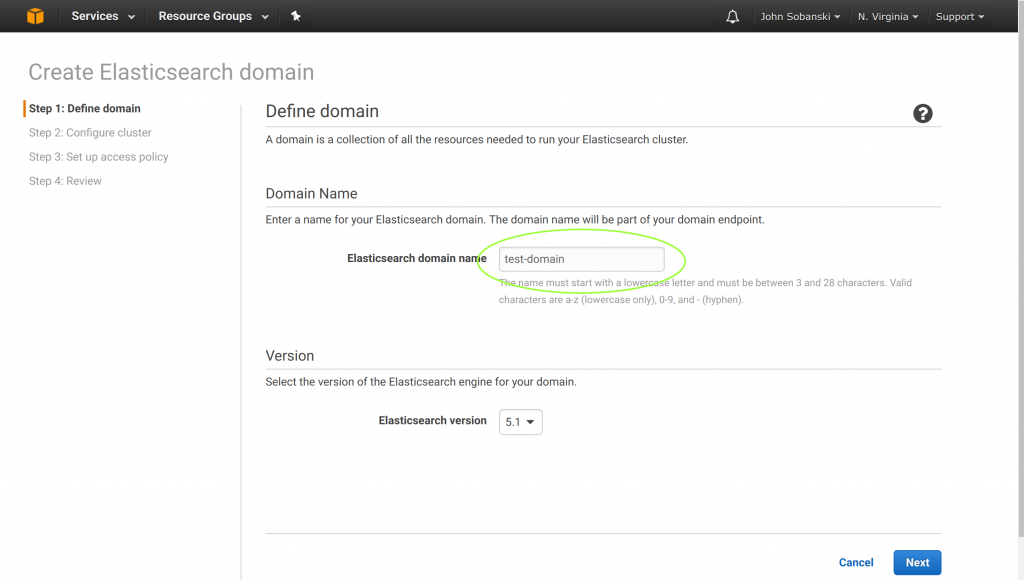
Name your domain “test-domain” (Or whatever).
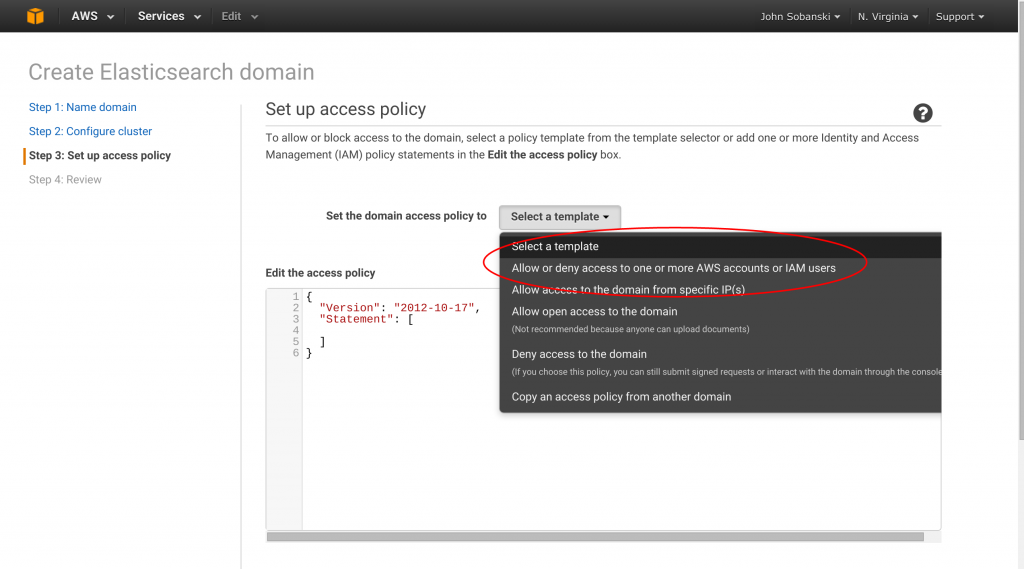
Keep the defaults on the next screen “Step 2: Configure Cluster.” Just click “next.” On the next screen, select: “Allow or deny access to one or more AWS accounts or IAM users”.
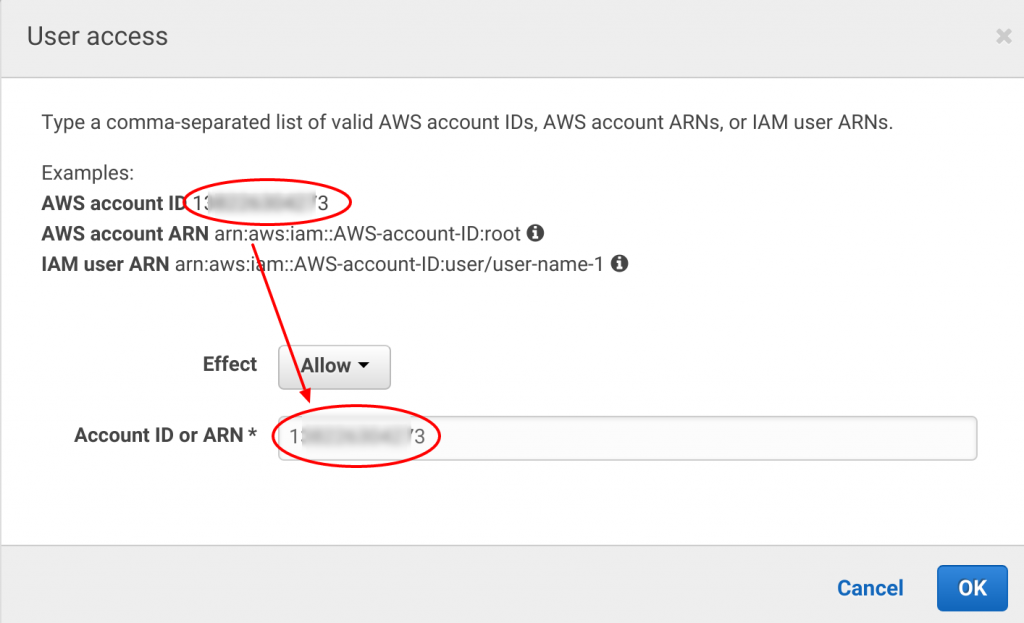
Amazon makes security easy as well. On the next menu they list your ARN. Just copy and paste it into the text field and hit “next.”
AWS generates the JSON for your Elasticsearch service:
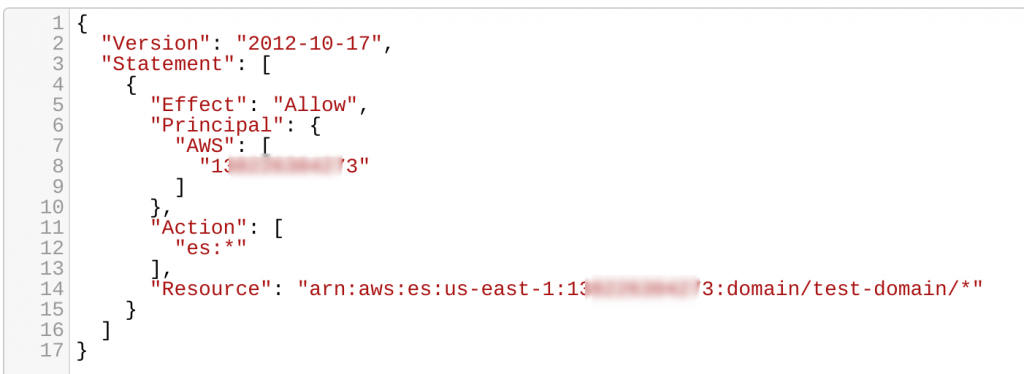
Click “Next” and then “confirm and create.
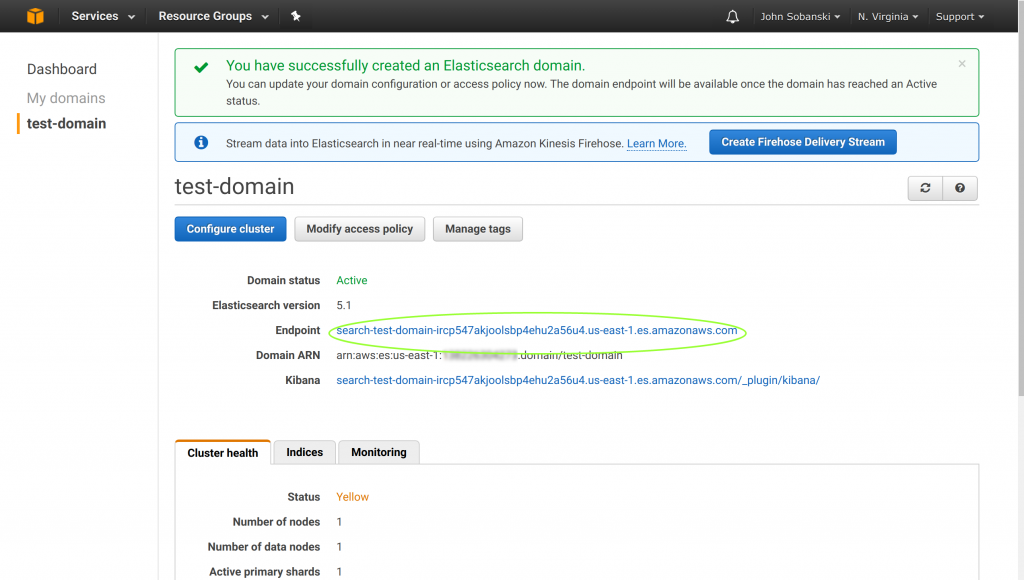
Expect about ten (10) minutes for the service to initiate. While you wait for the service to deploy, you should set up your Chalice development environment.
2. Configure your Chalice development environment
As a convenience, I summarize the instructions from the authoritative Chalice HOWTO here.
First, create a Python virtual environment for a development
[ec2-user@ip-172-31-4-69 ~]$ virtualenv chalice-demo
New python executable in chalice-demo/bin/python2.7
Also creating executable in chalice-demo/bin/python
Installing setuptools, pip...done.
```

Change directories to your new sandbox and then activate the virtual environment.

```bash
[ec2-user@ip-172-31-4-69 ~]$ cd chalice-demo/
[ec2-user@ip-172-31-4-69 chalice-demo]$ . bin/activate
Now upgrade pip.
(chalice-demo)[ec2-user@ip-172-31-4-69 chalice-demo]$ pip install -U pip
You are using pip version 6.0.8, however version 9.0.1 is available.
You should consider upgrading via the 'pip install --upgrade pip' command.
Collecting pip from https://pypi.python.org/packages/b6/ac/7015eb97dc749283ffdec1c3a88ddb8ae03b8fad0f0e611408f196358da3/pip-9.0.1-py2.py3-none-any.whl#md5=297dbd16ef53bcef0447d245815f5144
  Using cached pip-9.0.1-py2.py3-none-any.whl
Installing collected packages: pip
  Found existing installation: pip 6.0.8
    Uninstalling pip-6.0.8:
      Successfully uninstalled pip-6.0.8

Successfully installed pip-9.0.1
(chalice-demo)[ec2-user@ip-172-31-4-69 chalice-demo]$
Finally, install Chalice.
(chalice-demo)[ec2-user@ip-172-31-4-69 chalice-demo]$ pip install chalice
Collecting chalice
  Downloading chalice-0.8.0.tar.gz (86kB)
    100% |████████████████████████████████| 92kB 6.6MB/s
Collecting click==6.6 (from chalice)
  Downloading click-6.6-py2.py3-none-any.whl (71kB)
    100% |████████████████████████████████| 71kB 6.9MB/s
Collecting botocore<2.0.0,>=1.5.0 (from chalice)
  Downloading botocore-1.5.45-py2.py3-none-any.whl (3.4MB)
    100% |████████████████████████████████| 3.5MB 335kB/s
Collecting virtualenv<16.0.0,>=15.0.0 (from chalice)
  Downloading virtualenv-15.1.0-py2.py3-none-any.whl (1.8MB)
    100% |████████████████████████████████| 1.8MB 648kB/s
Collecting typing==3.5.3.0 (from chalice)
  Downloading typing-3.5.3.0.tar.gz (60kB)
    100% |████████████████████████████████| 61kB 9.3MB/s
Collecting six<2.0.0,>=1.10.0 (from chalice)
  Downloading six-1.10.0-py2.py3-none-any.whl
Collecting jmespath<1.0.0,>=0.7.1 (from botocore<2.0.0,>=1.5.0->chalice)
  Downloading jmespath-0.9.2-py2.py3-none-any.whl
Collecting docutils>=0.10 (from botocore<2.0.0,>=1.5.0->chalice)
  Downloading docutils-0.13.1-py2-none-any.whl (537kB)
    100% |████████████████████████████████| 542kB 2.2MB/s
Collecting python-dateutil<3.0.0,>=2.1 (from botocore<2.0.0,>=1.5.0->chalice)
  Downloading python_dateutil-2.6.0-py2.py3-none-any.whl (194kB)
    100% |████████████████████████████████| 194kB 5.7MB/s
Installing collected packages: click, jmespath, docutils, six, python-dateutil, botocore, virtualenv, typing, chalice
  Running setup.py install for typing ... done
  Running setup.py install for chalice ... done
Successfully installed botocore-1.5.45 chalice-0.8.0 click-6.6 docutils-0.13.1 jmespath-0.9.2 python-dateutil-2.6.0 six-1.10.0 typing-3.5.3.0 virtualenv-15.1.0
(chalice-demo)[ec2-user@ip-172-31-4-69 chalice-demo]$
The quickstart is pretty clear about how to configure credentials. Here are their instructions verbatim...
Before you can deploy an application, be sure you have credentials configured. If you have previously configured your machine to run boto3 (the AWS SDK for Python) or the AWS CLI then you can skip this section.
If this is your first time configuring credentials for AWS you can follow these steps to quickly get started:
$ mkdir ~/.aws
$ cat >> ~/.aws/config
[default]
aws_access_key_id=YOUR_ACCESS_KEY_HERE
aws_secret_access_key=YOUR_SECRET_ACCESS_KEY
region=YOUR_REGION (such as us-west-2, us-west-1, etc)
If you want more information on all the supported methods for configuring credentials, see the boto3 docs. From the chalice-demo directory, create a new Chalice project.
(chalice-demo)[ec2-user@ip-172-31-4-69 chalice-demo]$ chalice new-project eslambda
You have set up your development environment.
3. Create an app that proxies/ protects your Elasticsearch endpoint
At this point, your Elasticsearch endpoint should be up and running.
Copy the fully qualified domain name (FQDN) for your new endpoint. You will copy this FQDN into the application below.
The following application uses the boto library to access an authorized IAM role to sign and encrypt calls to your Elasticsearch endpoint. Be sure to configure the host parameter with your Endpoint address.
Change directories to the new eslambda project. You will see two automatically created documents: app.py and requirements.txt
(chalice-demo)[ec2-user@ip-172-31-4-69 chalice-demo]$ cd eslambda/
(chalice-demo)[ec2-user@ip-172-31-4-69 eslambda]$ ls
app.py  requirements.txt
(chalice-demo)[ec2-user@ip-172-31-4-69 eslambda]$
Overwrite app.py with the app.py code above. Then, pip install boto. Use the pip freeze | grep botocommand to populate requirements.txt with the proper version of boto. requirements.txt tells Lambda which Python packages to install.
(chalice-demo)[ec2-user@ip-172-31-4-69 eslambda]$ pip install boto
Collecting boto
  Downloading boto-2.46.1-py2.py3-none-any.whl (1.4MB)
    100% |████████████████████████████████| 1.4MB 851kB/s
Installing collected packages: boto
Successfully installed boto-2.46.1
(chalice-demo)[ec2-user@ip-172-31-4-69 eslambda]$ pip freeze | grep boto >> requirements.txt
4. Configure an IAM policy for your Lambda function
Create a document called policy.json in the hidden .chalice directory and add the following JSON. This will let Lambda use the Elasticsearch service.
(chalice-demo)[ec2-user@ip-172-31-4-69 eslambda]$ vim .chalice/policy.json
5. Use Chalice to deploy your Lambda function and create/ attach an API gateway
Cross your fingers, this should work. Deploy your Chalice application with the following command. Take note of the endpoint that Chalice returns.
(chalice-demo)[ec2-user@ip-172-31-4-69 eslambda]$ chalice deploy
Initial creation of lambda function.
Creating role
Creating deployment package.
Initiating first time deployment...
Deploying to: dev
https://keqpeva3wi.execute-api.us-east-1.amazonaws.com/dev/
(chalice-demo)[ec2-user@ip-172-31-4-69 eslambda]$
6. Test drive your new Lambda function
Enter the URL of the service endpoint in your browser. In my case, I will go to https://keqpeva3wi.execute-api.us-east-1.amazonaws.com/dev/
Connect_AWS_Lambda_to_Elasticsearch
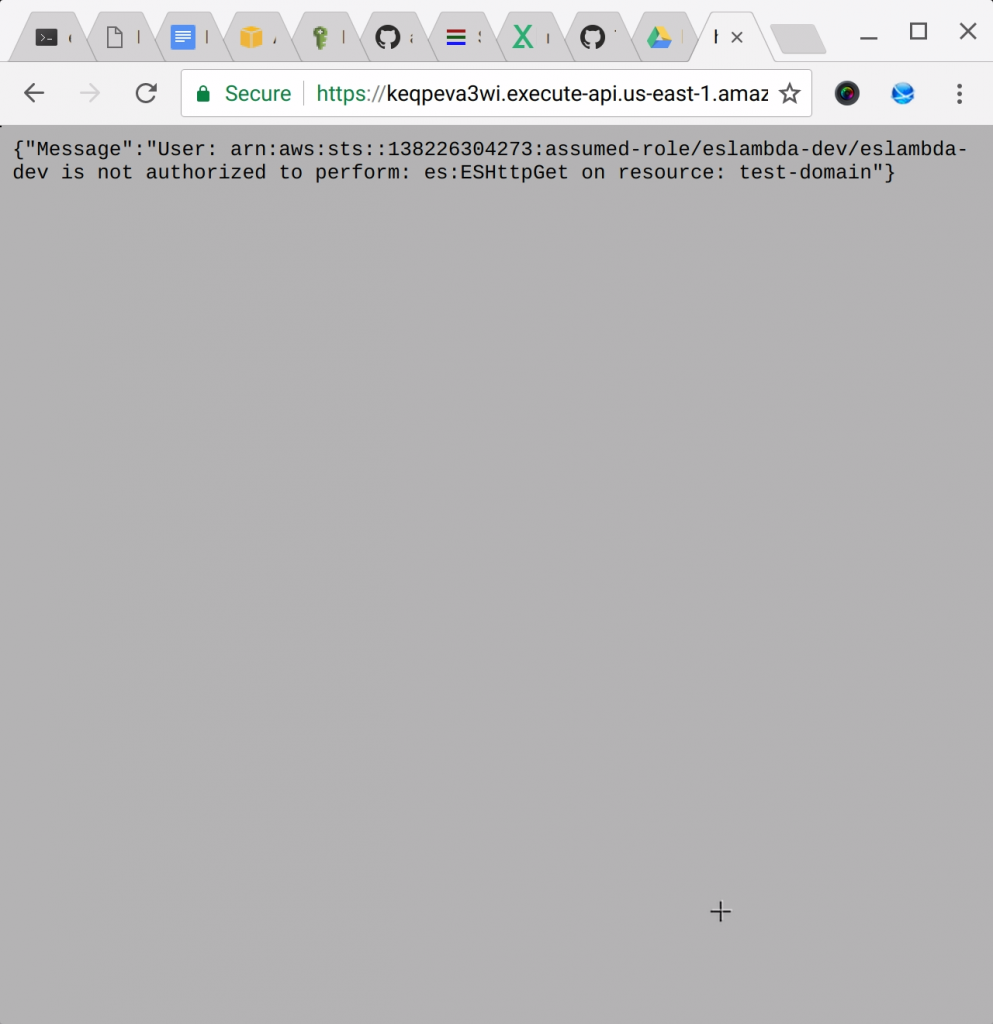 Yes. For some reason the steps on the Chalice quick start does not seem to work. If you take a look at policy.json you'll see that Chalice over-wrote it.
(chalice-demo)[ec2-user@ip-172-31-4-69 eslambda]$ cat .chalice/policy.json
{
  "Version": "2012-10-17",
  "Statement": [
    {
      "Action": [
        "logs:CreateLogGroup",
        "logs:CreateLogStream",
        "logs:PutLogEvents"
      ],
      "Resource": "arn:aws:logs:*:*:*",
      "Effect": "Allow"
    }
  ]
}(chalice-demo)[ec2-user@ip-172-31-4-69 eslambda]$
Chalice created a policy to allow our Lambda function to log. Let's keep that action and add the Elasticsearch verbs. Edit .chalice/policy.json once more, this time using the enriched JSON encoded policy.
Redeploy again, this time turn off the auto policy generation.
(chalice-demo)[ec2-user@ip-172-31-4-69 eslambda]$ chalice deploy --no-autogen-policy
Updating IAM policy.
Updating lambda function...
Regen deployment package...
Sending changes to lambda.
API Gateway rest API already found.
Deploying to: dev
https://keqpeva3wi.execute-api.us-east-1.amazonaws.com/dev/
(chalice-demo)[ec2-user@ip-172-31-4-69 eslambda]$
It may take a few minutes for the new Lambda function to bake in. Be sure to hit Control+F5 to make sure you're not hitting a cached version of your new application. Alternatively, you can pip install httpie.
From the command line, use httpie to access your new proxy.
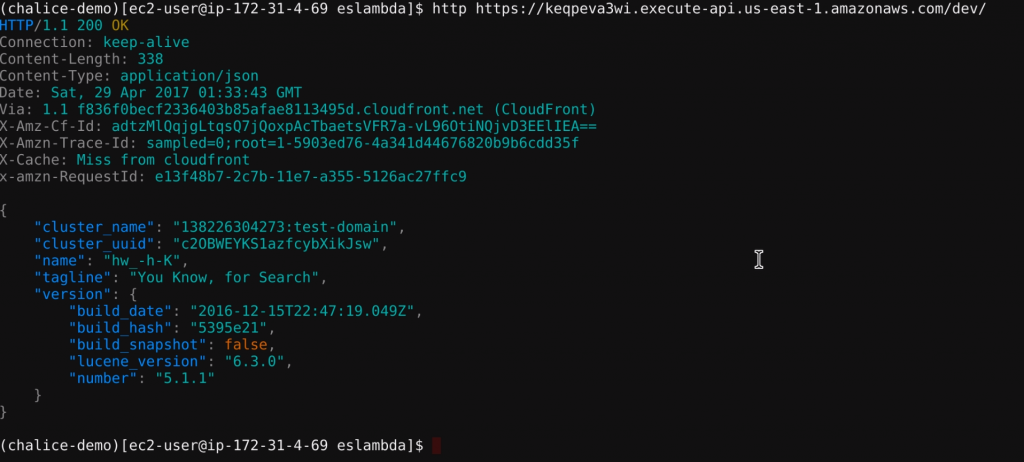 Congratulations! Your Lambda function can hit your Elasticsearch service!
I encourage you to proceed to the second HOWTO of this series, which demonstrates how to use this approach to recieve, validate and persist Elasticsearch documents to the document store.
In addition, you may want to learn how to backup the AWS provided Elasticsearch service to S3 or add @Timestamp to your Python Elasticsearch DSL Model.